Mod Details
PremiumYes Difficulty


 Mod ID1720
Creditevilution
Cost£1000
For
 Linkhttps://dev.evilution.co.uk/mod/451-ed-onboard-charger.htm Copy to Clipboard
I’d been driving my 2013 451 ED for over 4 years with very few issues. Once a year it would cut out but restart with no issues immediately. The error code was about the contractors and they were quite loud when they closed. Then in Q3 2022 I started getting a warning about taking the car to a workshop. I could dismiss it and it wouldn’t come back for the rest of the drive and it didn’t seem to affect anything.
When I checked the error codes, it just had P13C000. Something about an over temperature or a fault with the charger temperature sensor inside the charger. I made sure that both coolant pumps functioned and the coolant level was ok. It was so I just figured that the internal temperature sensor had failed.
Then about 3 weeks after that started popping up, the car suddenly refused to charge. The speedo was flashing up “malfunction” and something was clicking. No amount of deleting error codes would fix it. The new error codes being:
P180000 – The control unit has a malfunction.
P13D700 – The pilot function was interrupted after initialization.
P0CF400 – The electric circuit of the pilot function has a malfunction.
I figured that there was an issue with the onboard charger N83 so went and bought a new one from smart. (A451 982 27 21). It cost about £1000 new but people were also trying to sell 2nd hand ones online for £1500. Always check smart 1st.
A week later, it turned up. Time to fit it.
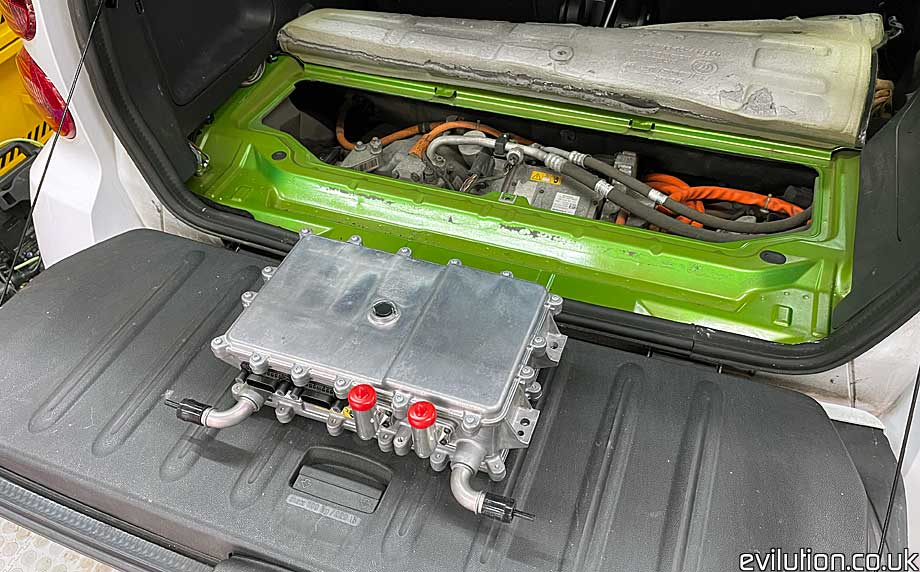
Step 0: Pull the HV battery disconnect and disconnect the earth on the 12v battery.
You will need to remove the side skirts and the rear panels to get access to the charger. Remove the “engine” cover…
What Failed?
Let’s open it up and see. Maybe there is a failed component that can be replaced.
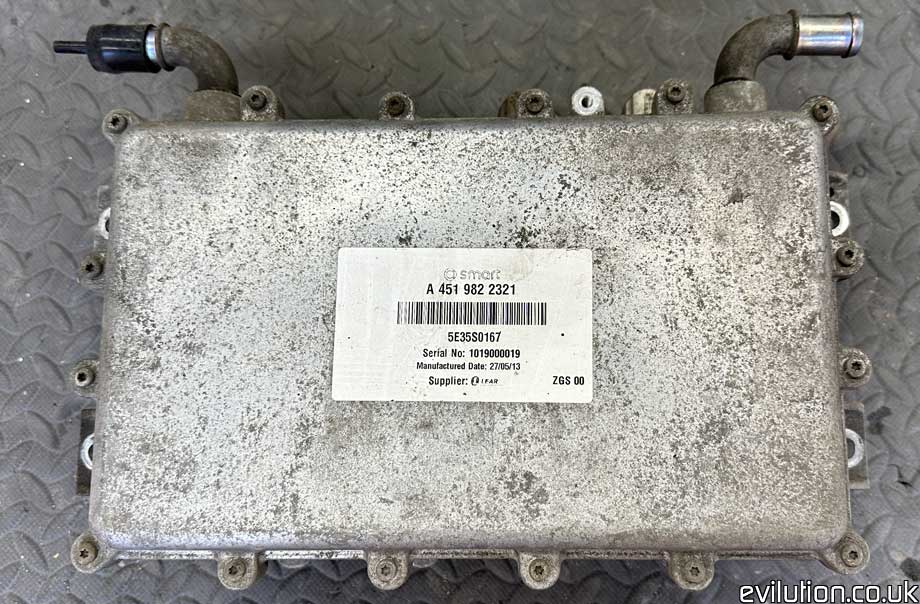
It was all looking ok until…
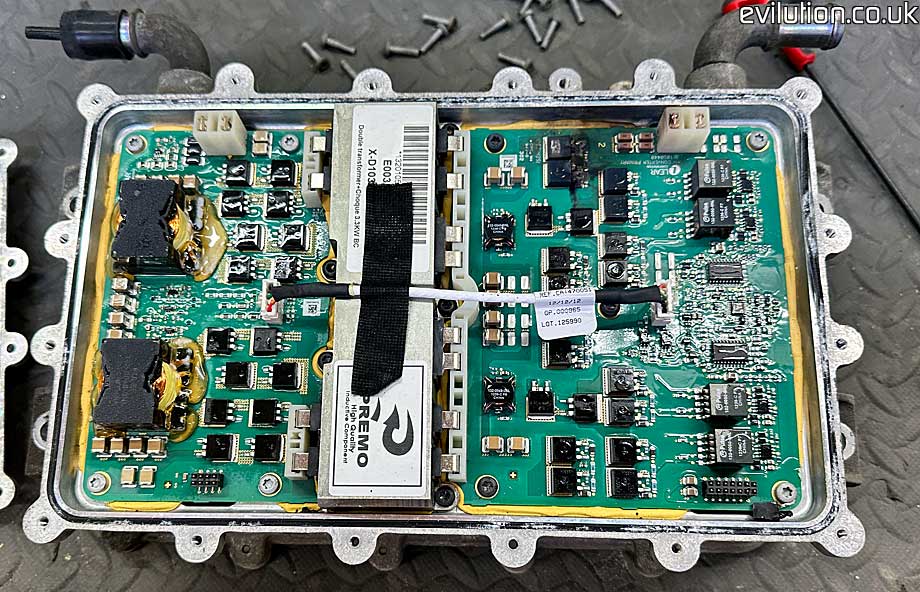
…I noticed 2 transistors were damaged. 1 had totally burst and let the smoke out.
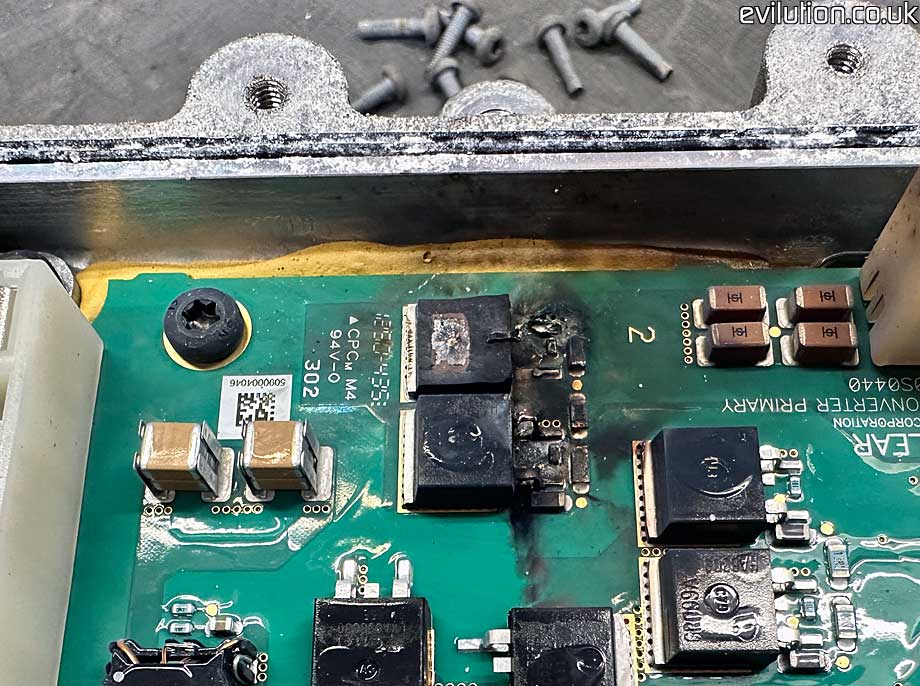
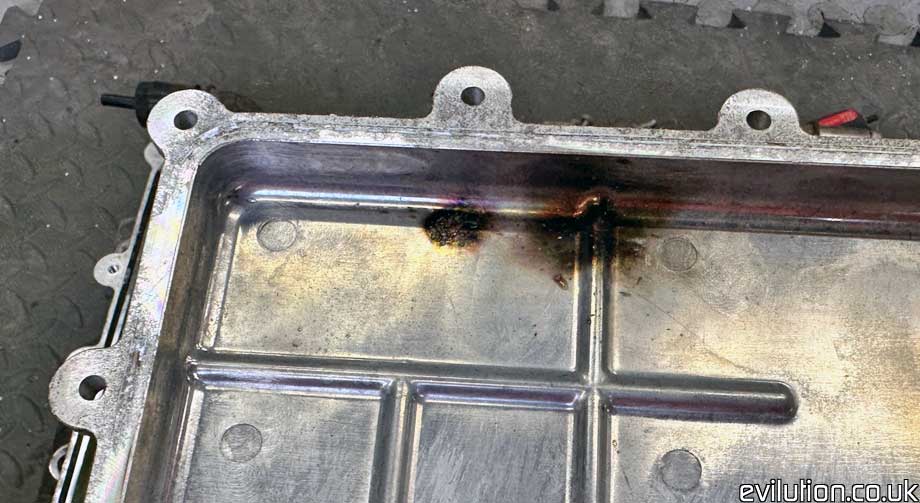
There there even scorch marks on the inside of the case. Replacing 2 transistors and a few other components isn’t too bad.
Then I opened up the other side. All looked ok at first…
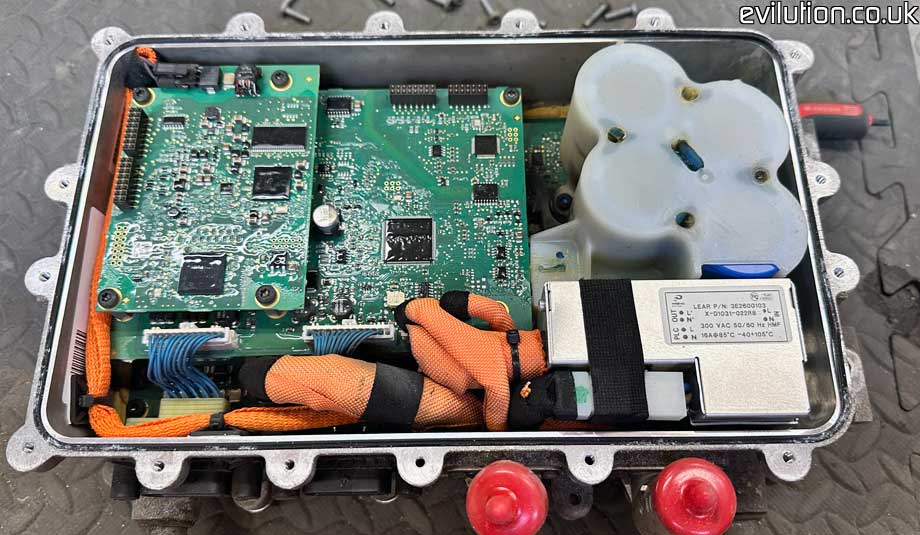
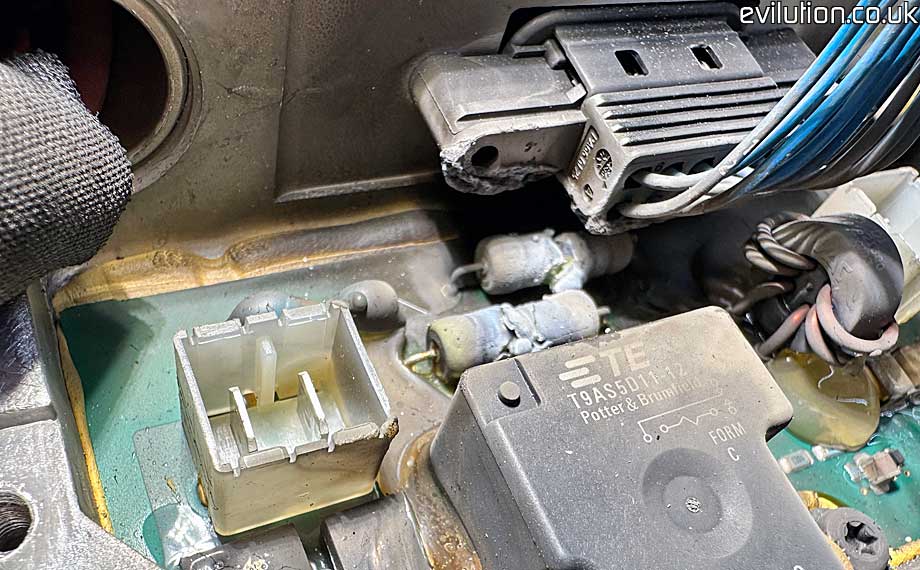
…then upon taking some of the boards out I found 2 exploded high power resistors…
…and 2 more transistors that had arced and shot fire over the board, taking out several other components.
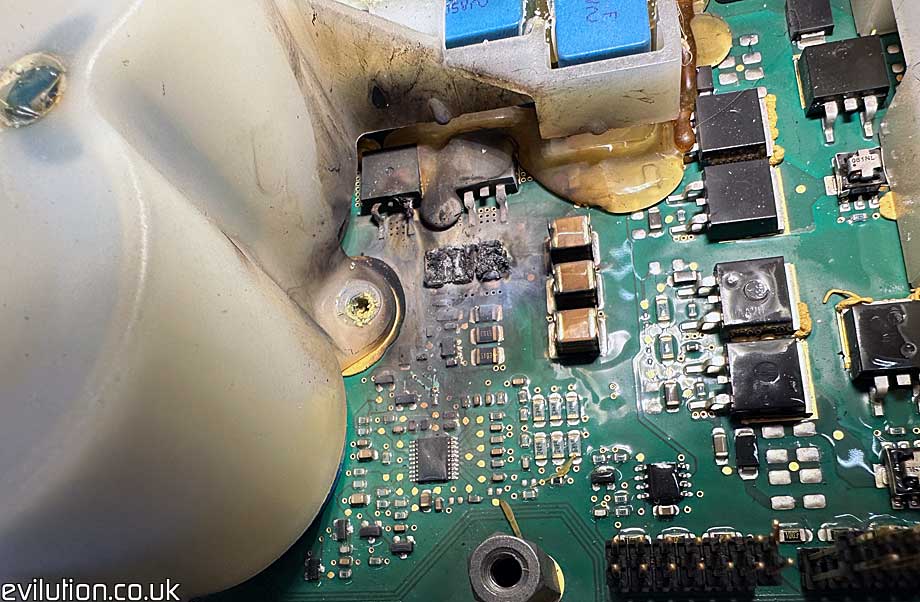
Not worth the effort in repairing.


